Welding is a crucial skill across many industries, including construction, manufacturing, automotive, aerospace, and energy production. Mastering welding positions is essential for producing high-quality welds. This guide covers the basics of welding positions, their applications, numerical designations, and the techniques required to weld in various positions.
What Are Welding Positions?
Welding positions are the various orientations in which welding can be performed on a joint. The position and direction of the weld significantly impact the technique and quality of the weld.
Reasons to Learn Welding Positions:
- Versatility: Adapting to different scenarios allows welders to tackle a wide range of projects.
- Quality: Knowing the best technique for each position ensures high-quality welds.
- Code Compliance: Compliance with standards from organizations like AWS (American Welding Society) and ASME (American Society of Mechanical Engineers) is often required.

Basic Welding Positions
Basic welding positions form the foundation of welding techniques and influence quality, productivity, skill, and technique. They are noted by numerical designations and the type of weld joint (G for groove weld, F for fillet weld).
- Flat Position (1G and 1F): The axis of the weld joint is horizontal, and the weld is made on the top side. This position is the easiest as gravity helps keep the molten weld metal in place, enhancing productivity and requiring less skill.
- Horizontal Position (2G and 2F): The weld is performed on the side of the joint with the weld axis horizontal. This requires adjusting heat and travel speed to manage molten metal.
- Vertical Position (3G and 3F): The weld joint is oriented vertically. Controlling welding parameters is crucial to prevent molten metal from falling out.
- Overhead Position (4G and 4F): The weld is performed from underneath, making it challenging as gravity works against the welder.
Advanced Welding Positions
Advanced positions are common in specialized applications like process piping.
- 2G Position: The pipe is vertical with the weld joint horizontal. The welder moves sideways to complete the weld.
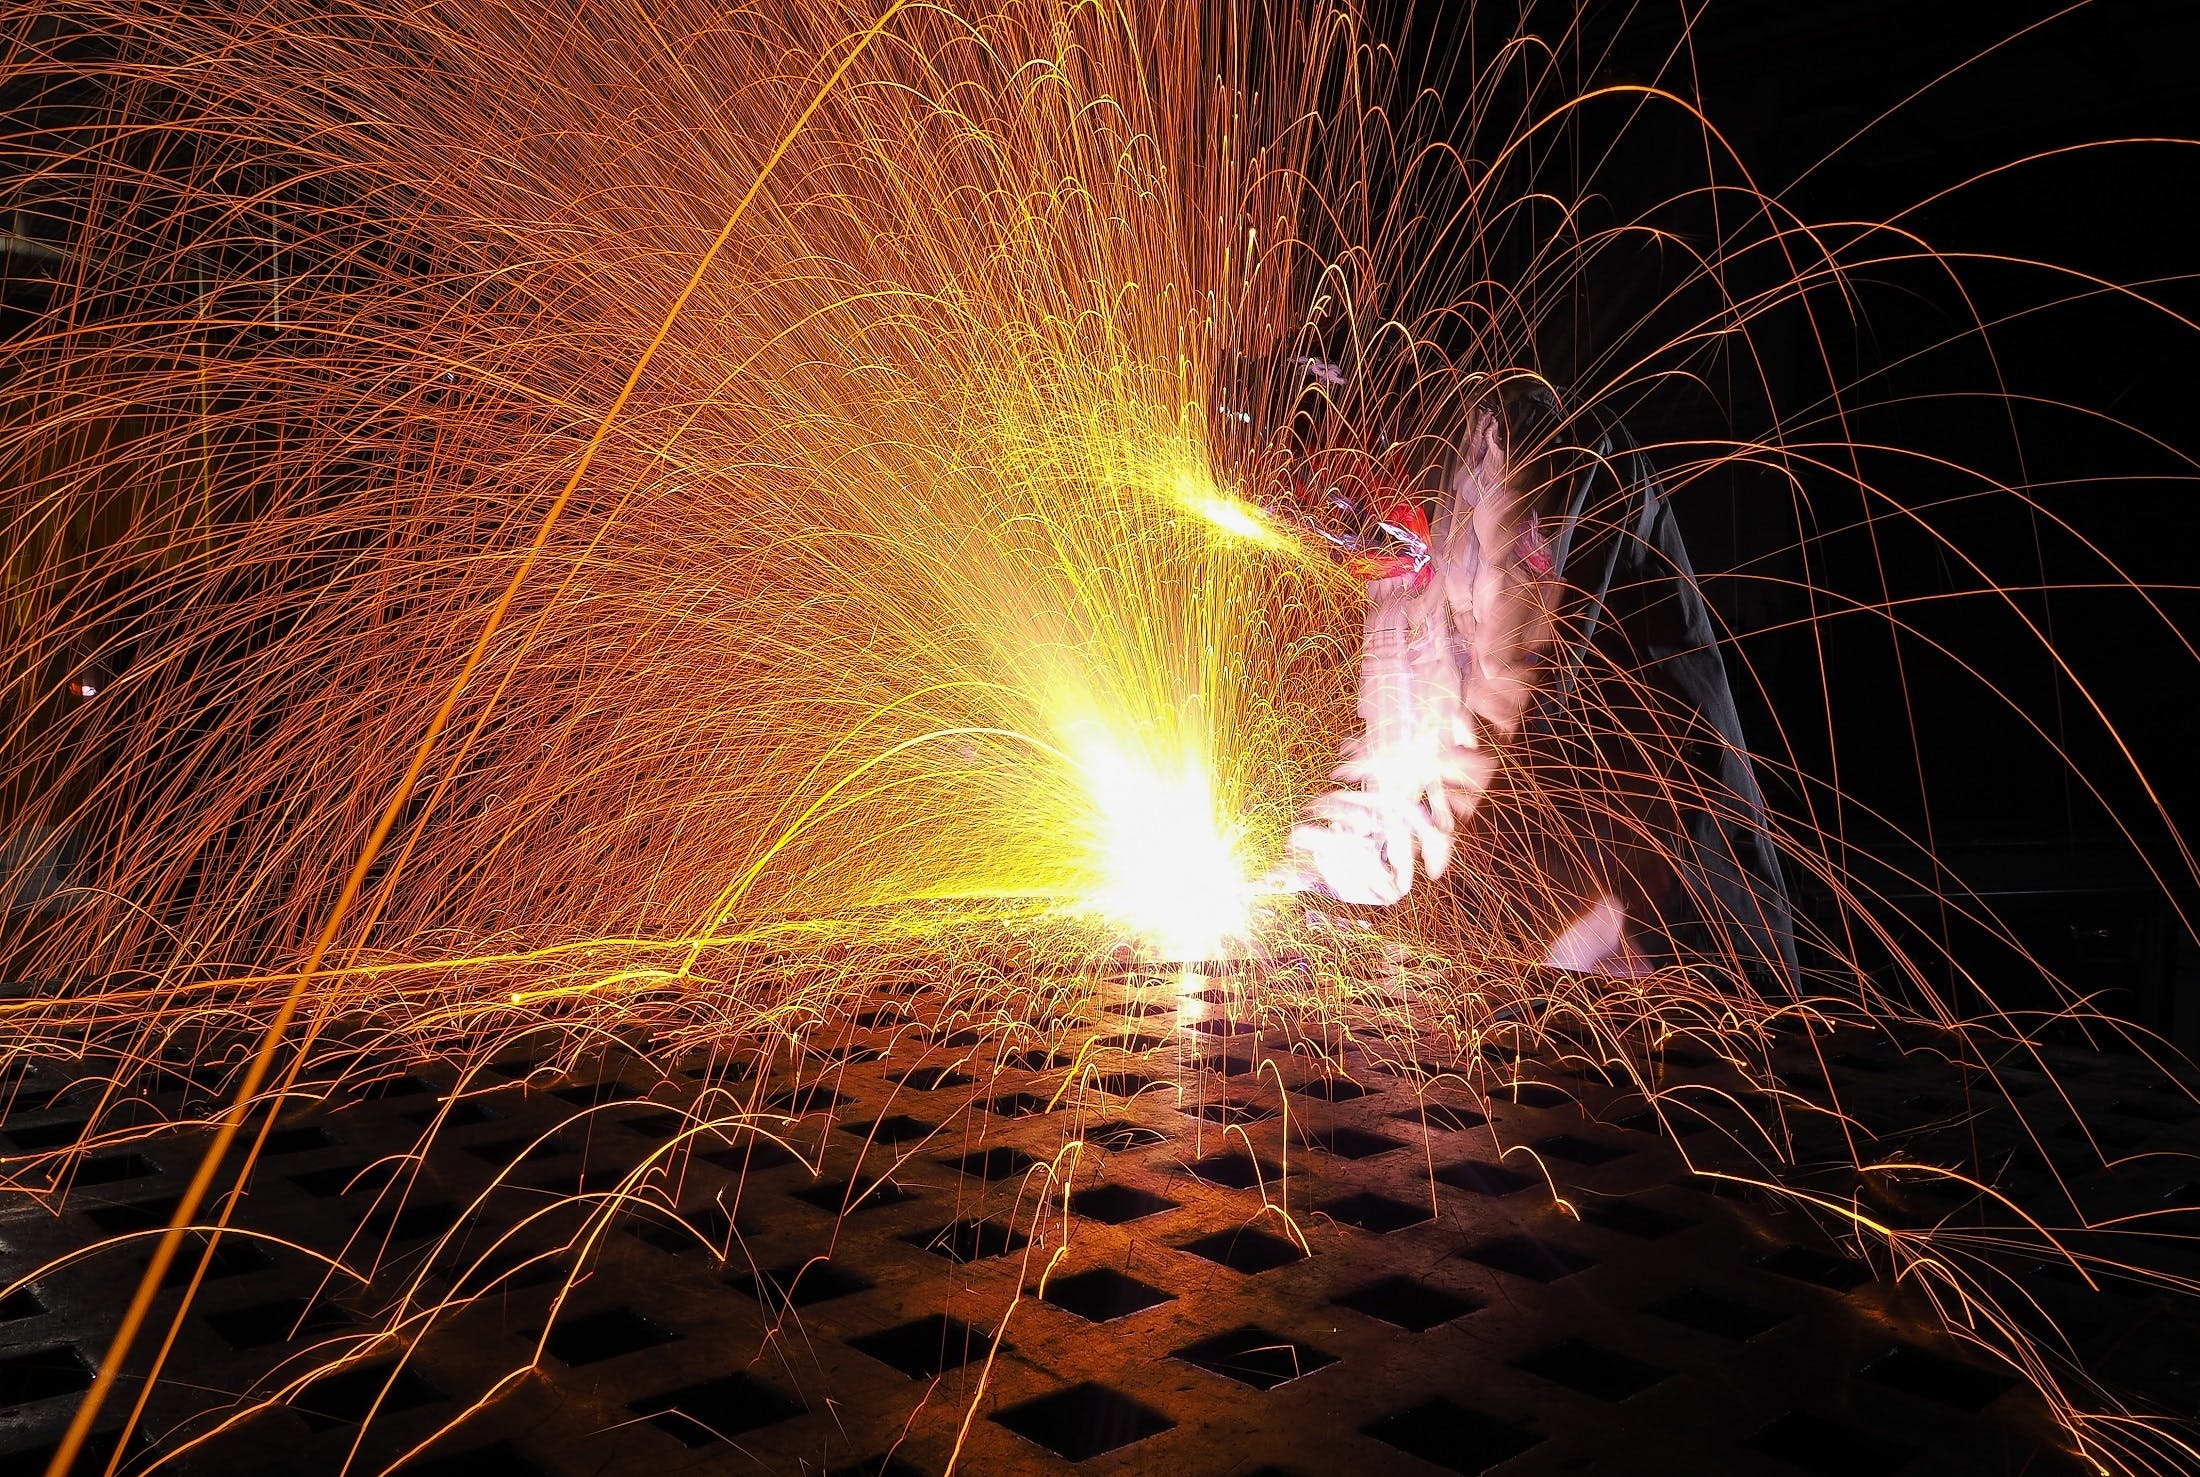
- 5G Position: The pipe is horizontal and fixed, requiring welding in various positions around the pipe.
- 6G and 6GR Positions: The pipe is fixed at a 45-degree angle, requiring high skill to weld around the entire joint. The “R” indicates a restriction, making the weld even more challenging.

The photo above is a 5G position.
Positions for Pipe Welding
Pipe welding involves welding in all positions within the same joint, with specific designations for groove and fillet welds.
- Horizontal Pipe Rolled Weld (1G): The pipe is rolled, allowing welding in the flat position.
- Horizontal Pipe Fixed Position Weld (5G): The pipe is fixed horizontally, with the weld joint vertical.
- Vertical Pipe Fixed Position Weld (2G): The pipe is vertical with the weld joint horizontal.
How to Choose the Right Welding Position
Selecting the right position depends on several factors:
- Job Requirements and Access: Assess job conditions and accessibility.
- Welder’s Skill Level: Ensure welders are qualified for specific positions.
- Welding Process: Certain processes are better suited for specific positions.
- Joint Configuration: Consider how the joint design impacts the weld position.
- Material Thickness: Different thicknesses require different approaches.
Safety Measures for Different Welding Positions
Welding operations have inherent safety hazards. Observing proper safety measures ensures welder health and well-being.
Safety Gear:
- Safety glasses
- Welding helmet with appropriate lens
- Gloves
- Durable clothing (avoid synthetics)
- Sturdy leather work boots
Proper Tool Handling: Maintain tools in good condition and check for exposed wires.
Position-Specific Risks:
- Flat Position: Ensure the piece is secure.
- Horizontal Position: Protect the arm from burns.
- Vertical Position: Use appropriate clothing to protect from falling sparks.
- Overhead Position: Protect the neck and head from UV rays and sparks.
Tips to Improve Your Welding Position Skills
Improvement requires patience, practice, and attention to detail. Key factors include:
- Body and Workpiece Positioning: Ensure minimal strain and secure workpiece.
- Visibility and Lighting: Ensure clear visibility of the weld joint.
- Machine Settings: Adjust amps and volts for optimal welds.
- Travel Speed and Angles: Find the ideal speed and angles for consistent quality.
Troubleshooting Common Issues in Various Welding Positions
Common issues include poor weld penetration and incomplete fusion. Evaluating joint preparation, machine settings, and technique adjustments can resolve these defects.
Common Welding Position Defects
Each position has specific defects, such as burn-through in the flat position, fusion defects in horizontal welding, and undercut in vertical welding. Understanding these can help improve technique and weld quality.
By mastering different welding positions and understanding their unique requirements, welders can produce high-quality welds across various applications, ensuring safety, efficiency, and compliance with industry standards.
Contact us at Ansgar to learn more about different welding positions and how this relates to your industry. Read more here about different welding techniques.